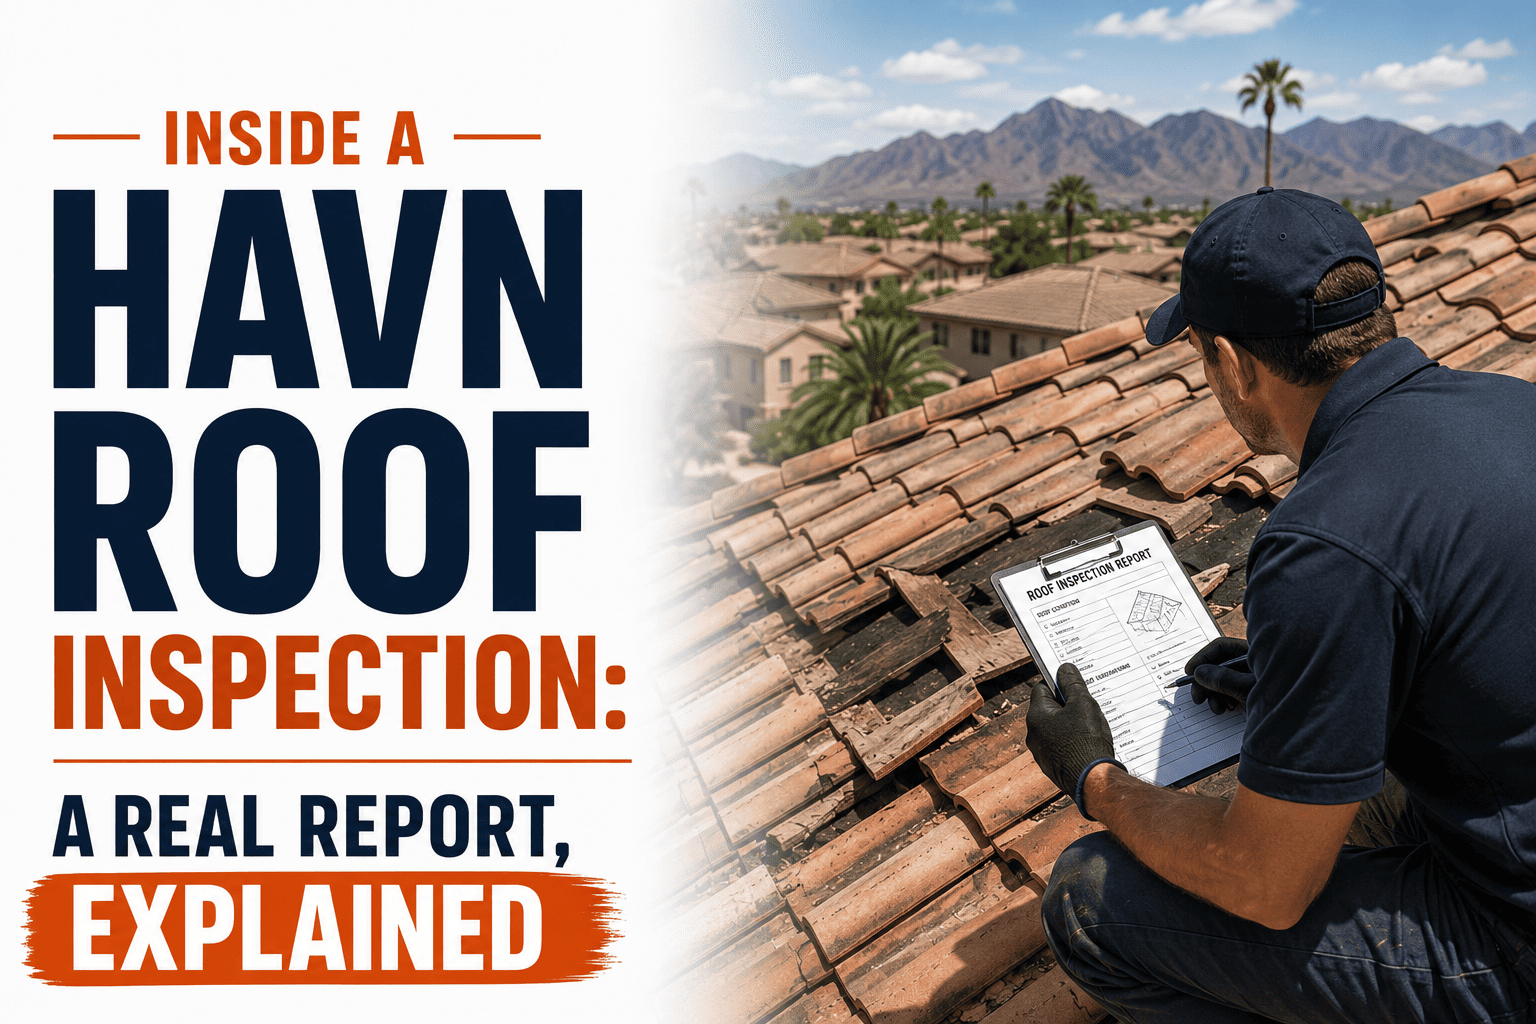
Inside a HAVN Roof Inspection: A Real Report, Explained
What actually happens during a HAVN roof inspection, and how to read the report we hand you afterward — section by section, with no sales pressure.
A lot of homeowners have never actually seen a roof inspection report before — they’ve just been told “you need a new roof” and had to take it on faith. We think that’s backwards. Every HAVN inspection produces a written report with photos, and we want you to understand exactly what’s in it before you ever talk pricing with us. Here’s what a real inspection covers, section by section.
Why we start with a walk-around, not a ladder
Every inspection begins at ground level. We walk the full perimeter of the home looking for anything visible from below — sagging rooflines, displaced tiles or shingles, damaged gutters, and granule buildup in downspouts. This step matters because it tells us where to look more closely once we’re on the roof, and it gives homeowners an easy way to follow along with what we’re finding in real time.
What the roof-surface section of the report covers
This is usually the longest part of the report, and it’s broken down by roof section rather than treated as one blanket assessment. For each section, we document:
- Material condition — cracking, curling, granule loss, or tile displacement specific to that area
- Flashing condition around chimneys, vents, and roof-to-wall transitions, since flashing failure is one of the most common sources of leaks
- Sealant and fastener condition, which tends to degrade faster than the roofing material itself in Arizona’s heat
- Photos of anything flagged, timestamped and labeled by location on the roof
We photograph problem areas specifically so you’re not just taking our word for it — you can see exactly what we saw.
The attic and interior findings
Where accessible, we check the attic for water staining, damp insulation, or daylight coming through the decking, since this is often where slow leaks show up before they reach the ceiling. If we find anything, we note the approximate location relative to the roof-surface findings above it, so you can see how the two connect.
How we rate severity
Rather than a single pass/fail verdict, findings are grouped into three categories:
- Monitor — minor wear that isn’t an active problem but is worth tracking over time
- Repair recommended — issues that should be addressed to prevent bigger problems, with a general timeframe
- Immediate attention — active leaks, structural concerns, or damage likely to worsen quickly, especially heading into monsoon season
This structure is meant to separate “worth knowing about” from “needs action now,” so you’re not left wondering how urgent something actually is.
What’s intentionally left out of the sales conversation
The inspection report itself does not include pricing or repair recommendations pushed toward a specific outcome. Findings are documented the same way whether a homeowner ends up doing nothing, doing a small repair, or replacing the whole roof. Pricing and options are a separate conversation that happens only after you’ve had a chance to look at the report.
Why we show homeowners the raw findings
We’ve found that showing the actual photos and section-by-section notes — rather than a one-line summary — builds more trust than a verbal “it needs to be replaced” ever could. It also means you can get a second opinion using the exact same documentation, which we’re comfortable with because the findings are the findings.
What to expect after your inspection
Once your report is ready, we walk through it with you directly, answer any questions about specific findings, and only then discuss what your options are if something needs attention. There’s no pressure to decide anything on the spot.