Emergency Roof Tarp Services in Phoenix: What to Do After Storm Damage
A monsoon can leave your roof exposed in minutes. Knowing what to do in the hours immediately after — and what a proper emergency tarp actually involves — can be the difference between a contained repair and a full interior disaster.
Scottsdale
Tempe
Mesa
Chandler
Gilbert
Phoenix monsoon season runs from mid-June through September, and it does not give much warning. A storm that rolls in at dusk can strip shingles, crack tiles, punch holes through older decking, or send a tree limb through a section of roof — leaving your home exposed to whatever comes next. In Arizona, that often means another storm within days.
Emergency tarping is the step that buys you time. Done correctly, it stops water intrusion while you assess the damage, work with your insurance company, and arrange permanent repairs. Done poorly — or skipped entirely — a damaged roof opening can let in enough water in a single storm to ruin ceilings, insulation, framing, and personal belongings in ways that are far more expensive than the original roof damage.
Here is what to do, step by step, if a storm has damaged your roof in the Phoenix area.
What to do in the first hour after storm damage
The immediate priority is not fixing anything — it is protecting what you have and gathering information.
Stay safe and stay off the roof
After a major storm, a damaged roof is an unstable surface. Wet decking, broken tiles, and compromised structural areas can give way without warning. Do not attempt to access the roof yourself immediately after a storm. Your safety comes first, and the documentation and emergency response steps below do not require you to get up there.
Document everything from the ground
Before anything is moved or touched, photograph the exterior of your home from multiple angles. Capture any visible damage — missing shingles, broken tiles, displaced ridge caps, tree debris — as well as the condition of gutters, fascia, and any adjacent structures. This documentation is important for your insurance claim and should be done before any emergency work begins.
Check inside for active water intrusion
Walk through your attic and all interior rooms directly below the roofline. Look for water stains, dripping, soft or sagging ceiling material, or wet insulation. If you find active leaking, place buckets and move valuables out of the affected area. Photograph the interior damage as well — this is part of your claim.
Call your insurance company
Notify your homeowner’s insurance carrier as soon as possible. Most policies require prompt reporting of storm damage and allow for emergency mitigation costs — including tarping — to be covered as part of your claim. Get a claim number before any work begins so that costs can be properly documented.
What emergency roof tarping actually involves
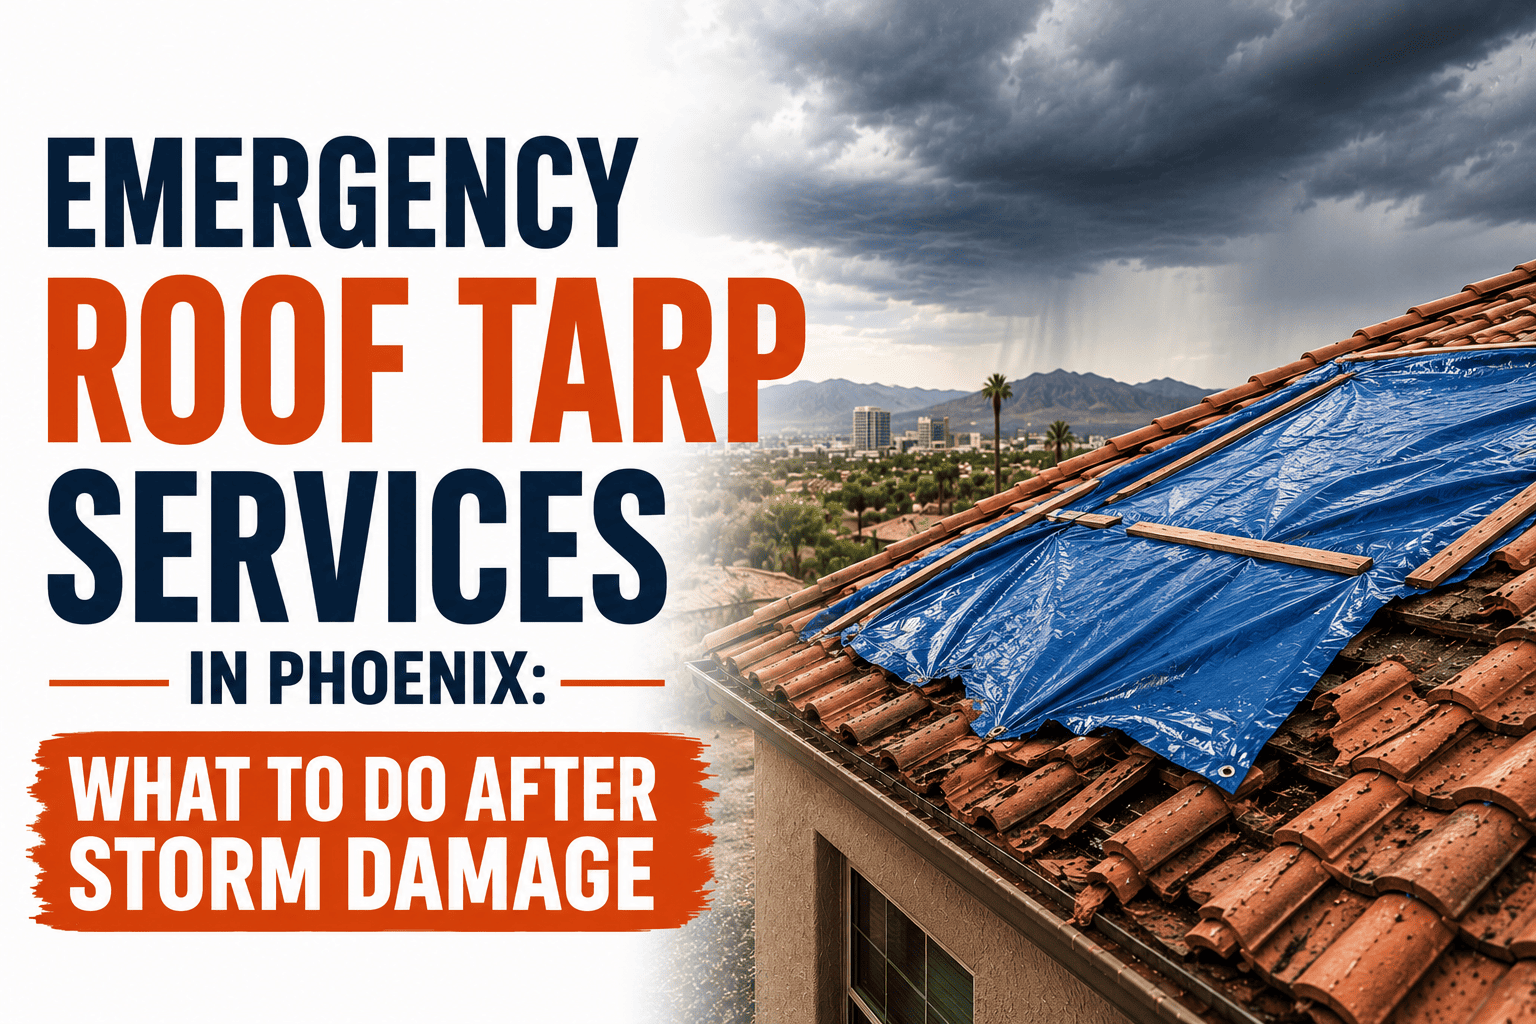
A proper emergency tarp installation is not someone throwing a blue tarp over a damaged area and weighing it down with bricks. Done professionally, it is a deliberate process that creates a genuine temporary weather barrier.
Assessing the damage area
Before any tarp goes down, a professional will assess the full extent of the damage — including areas that may not be obvious from the ground. Damage often extends further than the most visible impact point, and a tarp that does not cover the full compromised zone will still allow water in at the edges.
Choosing the right tarp
Heavy-duty polyethylene tarps — typically 6 mil or heavier — are the standard for emergency roof protection. The tarp needs to be large enough to extend at least four feet beyond the damaged area on all sides and overlap the ridge if possible, so that water runs off rather than pooling at the edges.
Proper securing method
In Arizona, where post-storm wind is a genuine concern, a tarp that is not secured correctly becomes a hazard of its own. Professionals use wood battens screwed through the tarp and into the roof decking to hold it firmly without tearing — not ropes, sandbags, or makeshift anchors that fail in the next gust. The tarp is also sealed at the edges to prevent wind uplift from working underneath it.
Working around the ridge
When damage extends to or near the roof ridge, the tarp needs to be draped over the peak and secured on both sides. This prevents water from finding its way under the tarp at the highest and most exposed point of the roof.
Why DIY tarping after a storm carries real risks
We understand the impulse to get up on the roof yourself and stop the bleeding. But there are three reasons to call a professional instead — even for what seems like a straightforward temporary fix.
Safety on a damaged roof
A storm-damaged roof has unknown structural integrity. What looks like solid decking may be compromised underneath. Broken tiles are slippery. Missing shingles expose bare felt or decking that offers no footing. Falls from roofs are one of the leading causes of serious home-improvement injuries — and that risk is significantly higher on a damaged roof in the immediate aftermath of a storm.
Insurance documentation
Insurance adjusters want to see the damage as it was found, before any work began. A professional tarping company will document conditions prior to installation and can provide a written scope of work that supports your claim. Homeowners who attempt repairs or tarping before an adjuster has assessed the damage sometimes run into complications with coverage — particularly if the DIY work obscures the original damage.
Tarp failure creates more damage
A tarp that is too small, improperly secured, or installed without attention to drainage can make things worse. Water pooling under or around a poorly installed tarp can accelerate moisture intrusion into decking and framing — turning a manageable repair into a much larger remediation job.
What an emergency tarp does not do
It is worth being clear about the limits of emergency tarping so your expectations are calibrated correctly.
A tarp is not a permanent repair. It is a temporary weather barrier intended to protect your home until a proper repair or replacement can be completed. Most tarps should be considered effective for 90 days or less, depending on sun exposure and wind conditions — and in Arizona’s UV environment, degradation can happen faster than in milder climates.
A tarp does not fix underlying damage. If the storm compromised your decking, cracked rafters, or allowed water to reach insulation or framing, those issues need to be addressed in the permanent repair phase. A tarp stops further water entry — it does not reverse damage that has already occurred.
A tarp does not replace a damage assessment. Emergency tarping should be followed as quickly as possible by a full inspection so the complete scope of damage is documented and a repair plan is in place before the next storm rolls through.
What comes after emergency tarping
Once your roof is protected, the focus shifts to the permanent repair process. Here is how that typically unfolds in the Phoenix area after a storm event.
Insurance adjuster inspection
After you file your claim, your insurer will send an adjuster to assess the damage. Having a roofing contractor present during this inspection is valuable — they can point out damage that an adjuster might miss, advocate for a fair scope, and answer technical questions about what the repair requires.
Repair vs. replacement decision
Not every storm event results in a full roof replacement. Localized damage from a single impact point — a fallen branch, a hail strike concentrated in one area — may be addressed with targeted repairs. Widespread shingle loss or structural damage may warrant replacement. A qualified contractor can help you understand what your roof actually needs versus what an insurance settlement might initially propose.
Scheduling the permanent repair
After a significant valley-wide storm event, roofing contractors in the Phoenix area can get backed up quickly. Getting on a contractor’s schedule early — even before your adjuster has completed their assessment — can help avoid extended delays. A reputable contractor will work with your timeline and your insurance process.
What to look for in an emergency roofing contractor
After a major storm, contractors from outside the area sometimes move in quickly to target homeowners in vulnerable situations. Here are the things worth confirming before you let anyone on your roof.
- Local presence. A contractor with an established office and track record in the Phoenix area is more accountable than an out-of-state operation that arrived after the storm. You want someone you can reach if a problem comes up after the job is done.
- Licensing and insurance. Arizona requires roofing contractors to hold a valid ROC license. Verify it before agreeing to any work. An uninsured contractor working on your roof creates liability exposure for you as the homeowner.
- Written scope before work begins. Any reputable contractor will provide a written description of what the tarping involves, what it costs, and what the process looks like — before anyone gets on your roof. Be cautious of contractors who want payment without documentation.
- No pressure to sign an Assignment of Benefits. Some contractors ask storm-damage customers to sign an Assignment of Benefits (AOB) that transfers control of the insurance claim to the contractor. This arrangement has significant implications for how your claim is handled. Understand exactly what you are signing before you do.
The bottom line
Storm damage is stressful, and the hours immediately after can feel chaotic. The most important things you can do are: stay off the roof, document everything, notify your insurance company, and get a professional emergency tarp in place before the next rain event.
HAVN Roofing provides emergency tarping and post-storm inspections for homeowners across Phoenix, Scottsdale, Tempe, Mesa, Chandler, and Gilbert. If your roof took damage in a storm, we can get out to you quickly, document what we find, and get your home protected while you work through the repair process at the pace that makes sense for your situation.